Part II | Decision-Making
Full transparency, this project took about four years to complete, from start to finish.
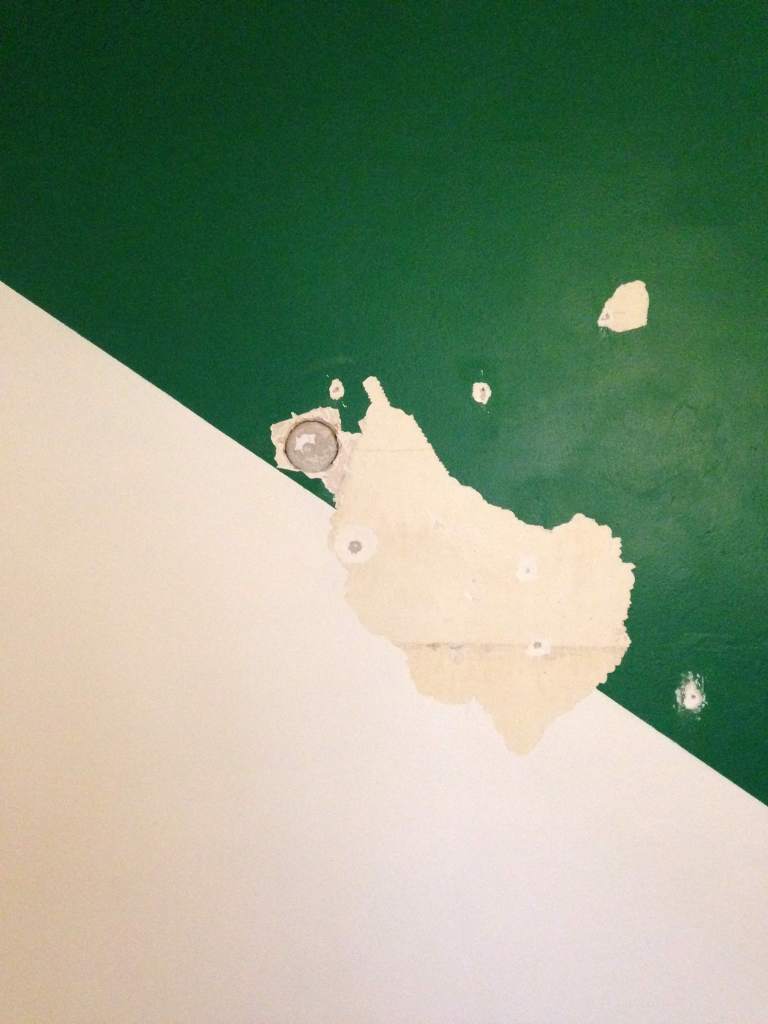
I feel like I’ve made it pretty clear by now that I didn’t want or need this restoration project. Thinking back on how I felt when the paint started failing and I discovered the ghost marks, I remember with visceral clarity how exciting it all was…and how absolutely defeated I felt at the same time. I didn’t have the emotional of mental bandwidth to take this on. It’s important to talk about old house burnout, especially when you’re the one doing all the work yourself. I debated for months whether or not I should even attempt this restoration. Discovering this mystery underneath the dining room paint really felt like a gut-punch.


I joke that I had multiple existential crises during this project…because I did. The messy truth is that I had a lot of fears and I hadn’t been prepared for those to surface in such a violent way. I was mentally prepared for, and so focused on, doing one small project: patching a wall, that I forgot the cardinal rule of old houses: Expect the unexpected. Always.


I didn’t know if I could do the work required for this restoration project. I didn’t know if I could source missing trim pieces (or even what pieces were missing, if any). I didn’t know how this would affect resale. And I had absolutely no idea if the next owner would hate wood trim and rip everything out or paint it all white. In my mind, it was all or nothing. I either restore the entire space (including sourcing mouldings for the living room if they were missing) or nothing at all. Just paint over it, pretend it never happened, and move on.
I have a really hard time leaving well enough alone, even if it’s in my best interest to do so. And you know how this story ends. I’m only sharing this because the pretty pictures at the end never tell the full story. The full story is ugly, complicated, full of feelings and decision-making that kept me up at night, months of learning and reading and education, a lot of trial and error. Tears, fights, working through imposter syndrome, getting into a groove, working full-time, a pandemic in the middle of everything, hope, a vision, an end goal, and ultimately an unending, maddening passion for restoration and the Chicago bungalow.
The first big question
In a city of 80,000 bungalows that are all similar yet all unique, how do you research the architectural details of a home’s interior spaces? That was the first big question I needed to answer before tackling the restoration of my dining room. Here are three things I did simultaneously to help me make decisions and determine how I would approach this project.
Ask the community
One of the first things I did was search through the bungalow community on Instagram to see if I could find any examples of dining rooms with this type of moulding combined with living rooms without it. I then threw out a line for help: Has anyone seen this in other bungalows?
My personal experience was that if there was 4 1/4″ picture rail in one room it was typically in all public rooms of the house. However, plenty of people messaged to reassure me that they had been in bungalows that only had the additional picture rail mouldings and a frieze in the dining room. This was a relief to hear!
My confusion continued, however, because in every example I could find of the application of this moulding the tops of the doorways aligned with the bottom of the picture rail. In the instances where it didn’t, it was an architectural detail that was consistent throughout the room or house. In my case, the doorway from the dining room to the kitchen was lower than the windows and other openings in the room…and I could not for the life of me find another example of this situation, no matter how much I searched.
Dig for evidence myself
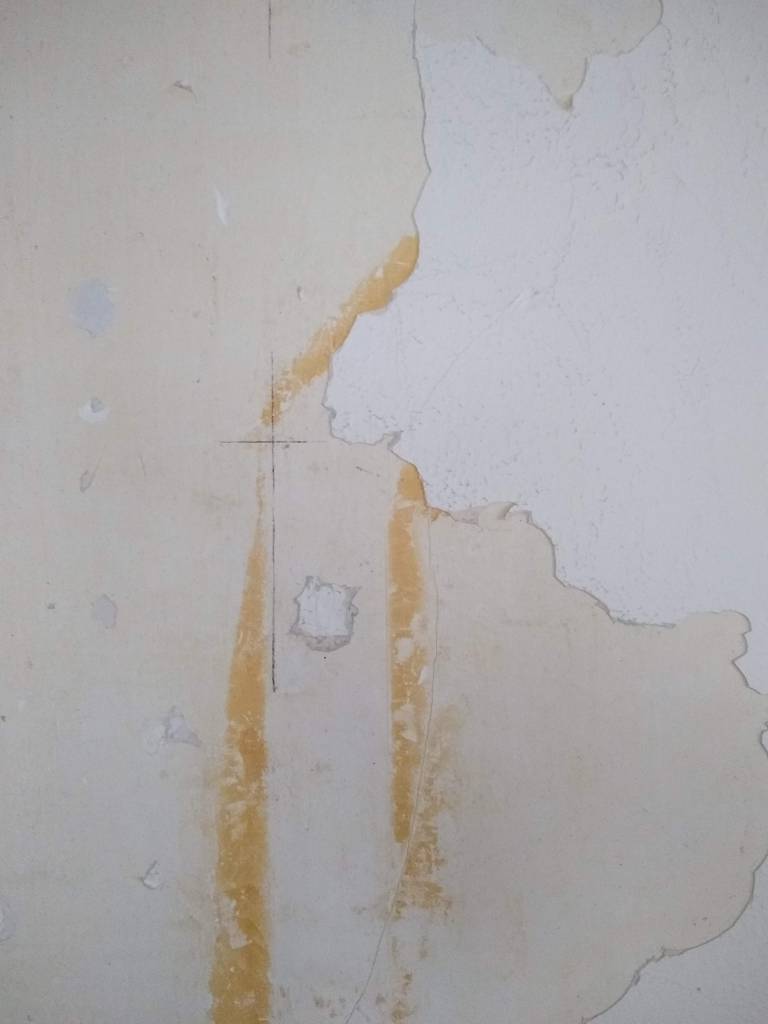
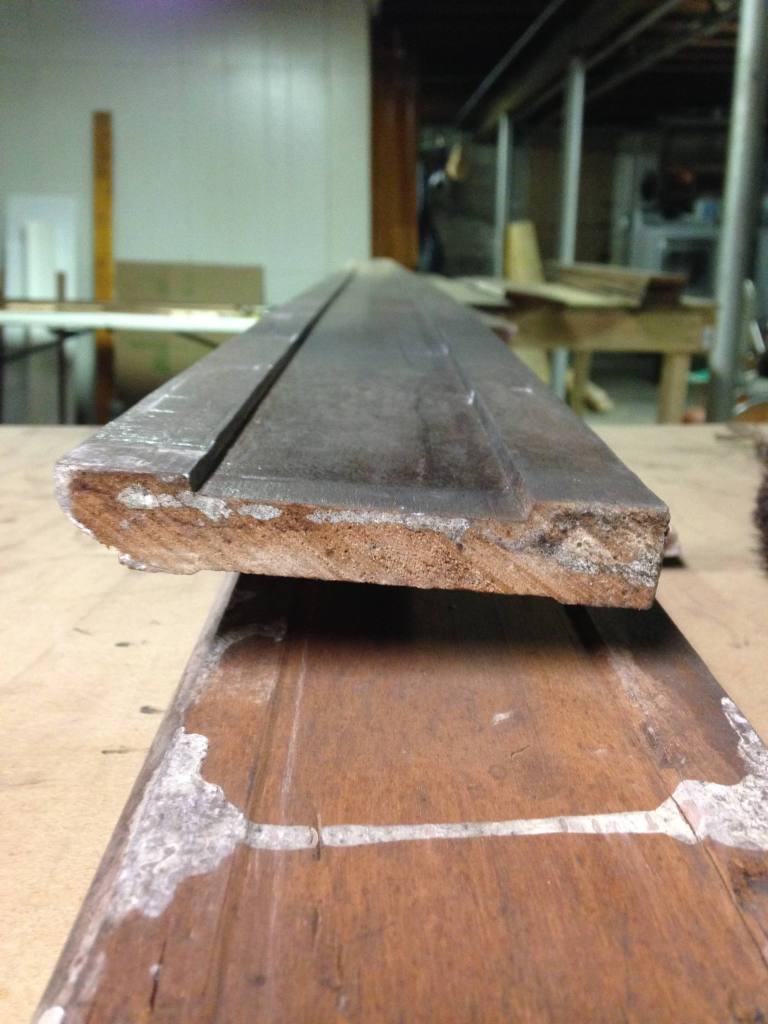
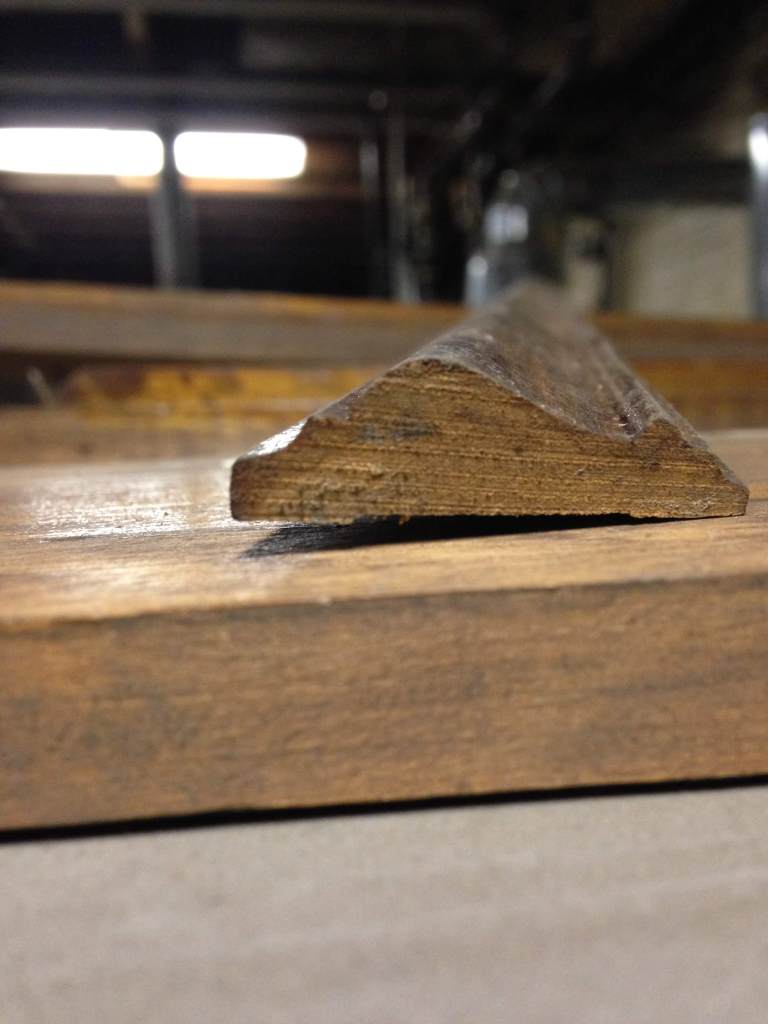
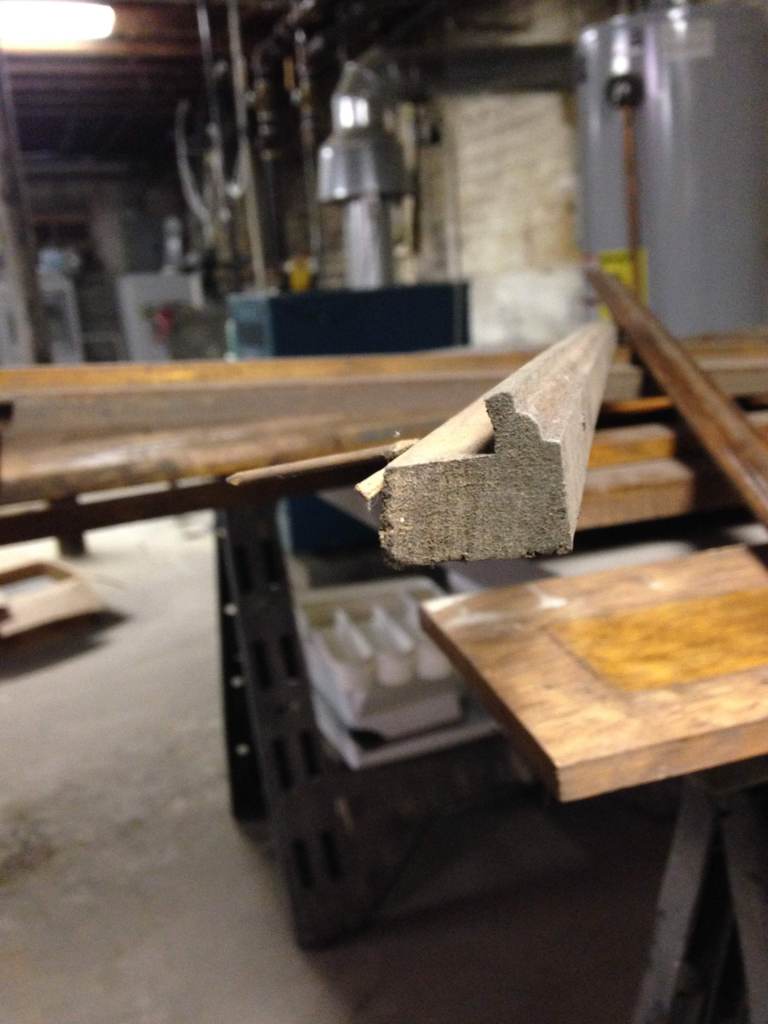
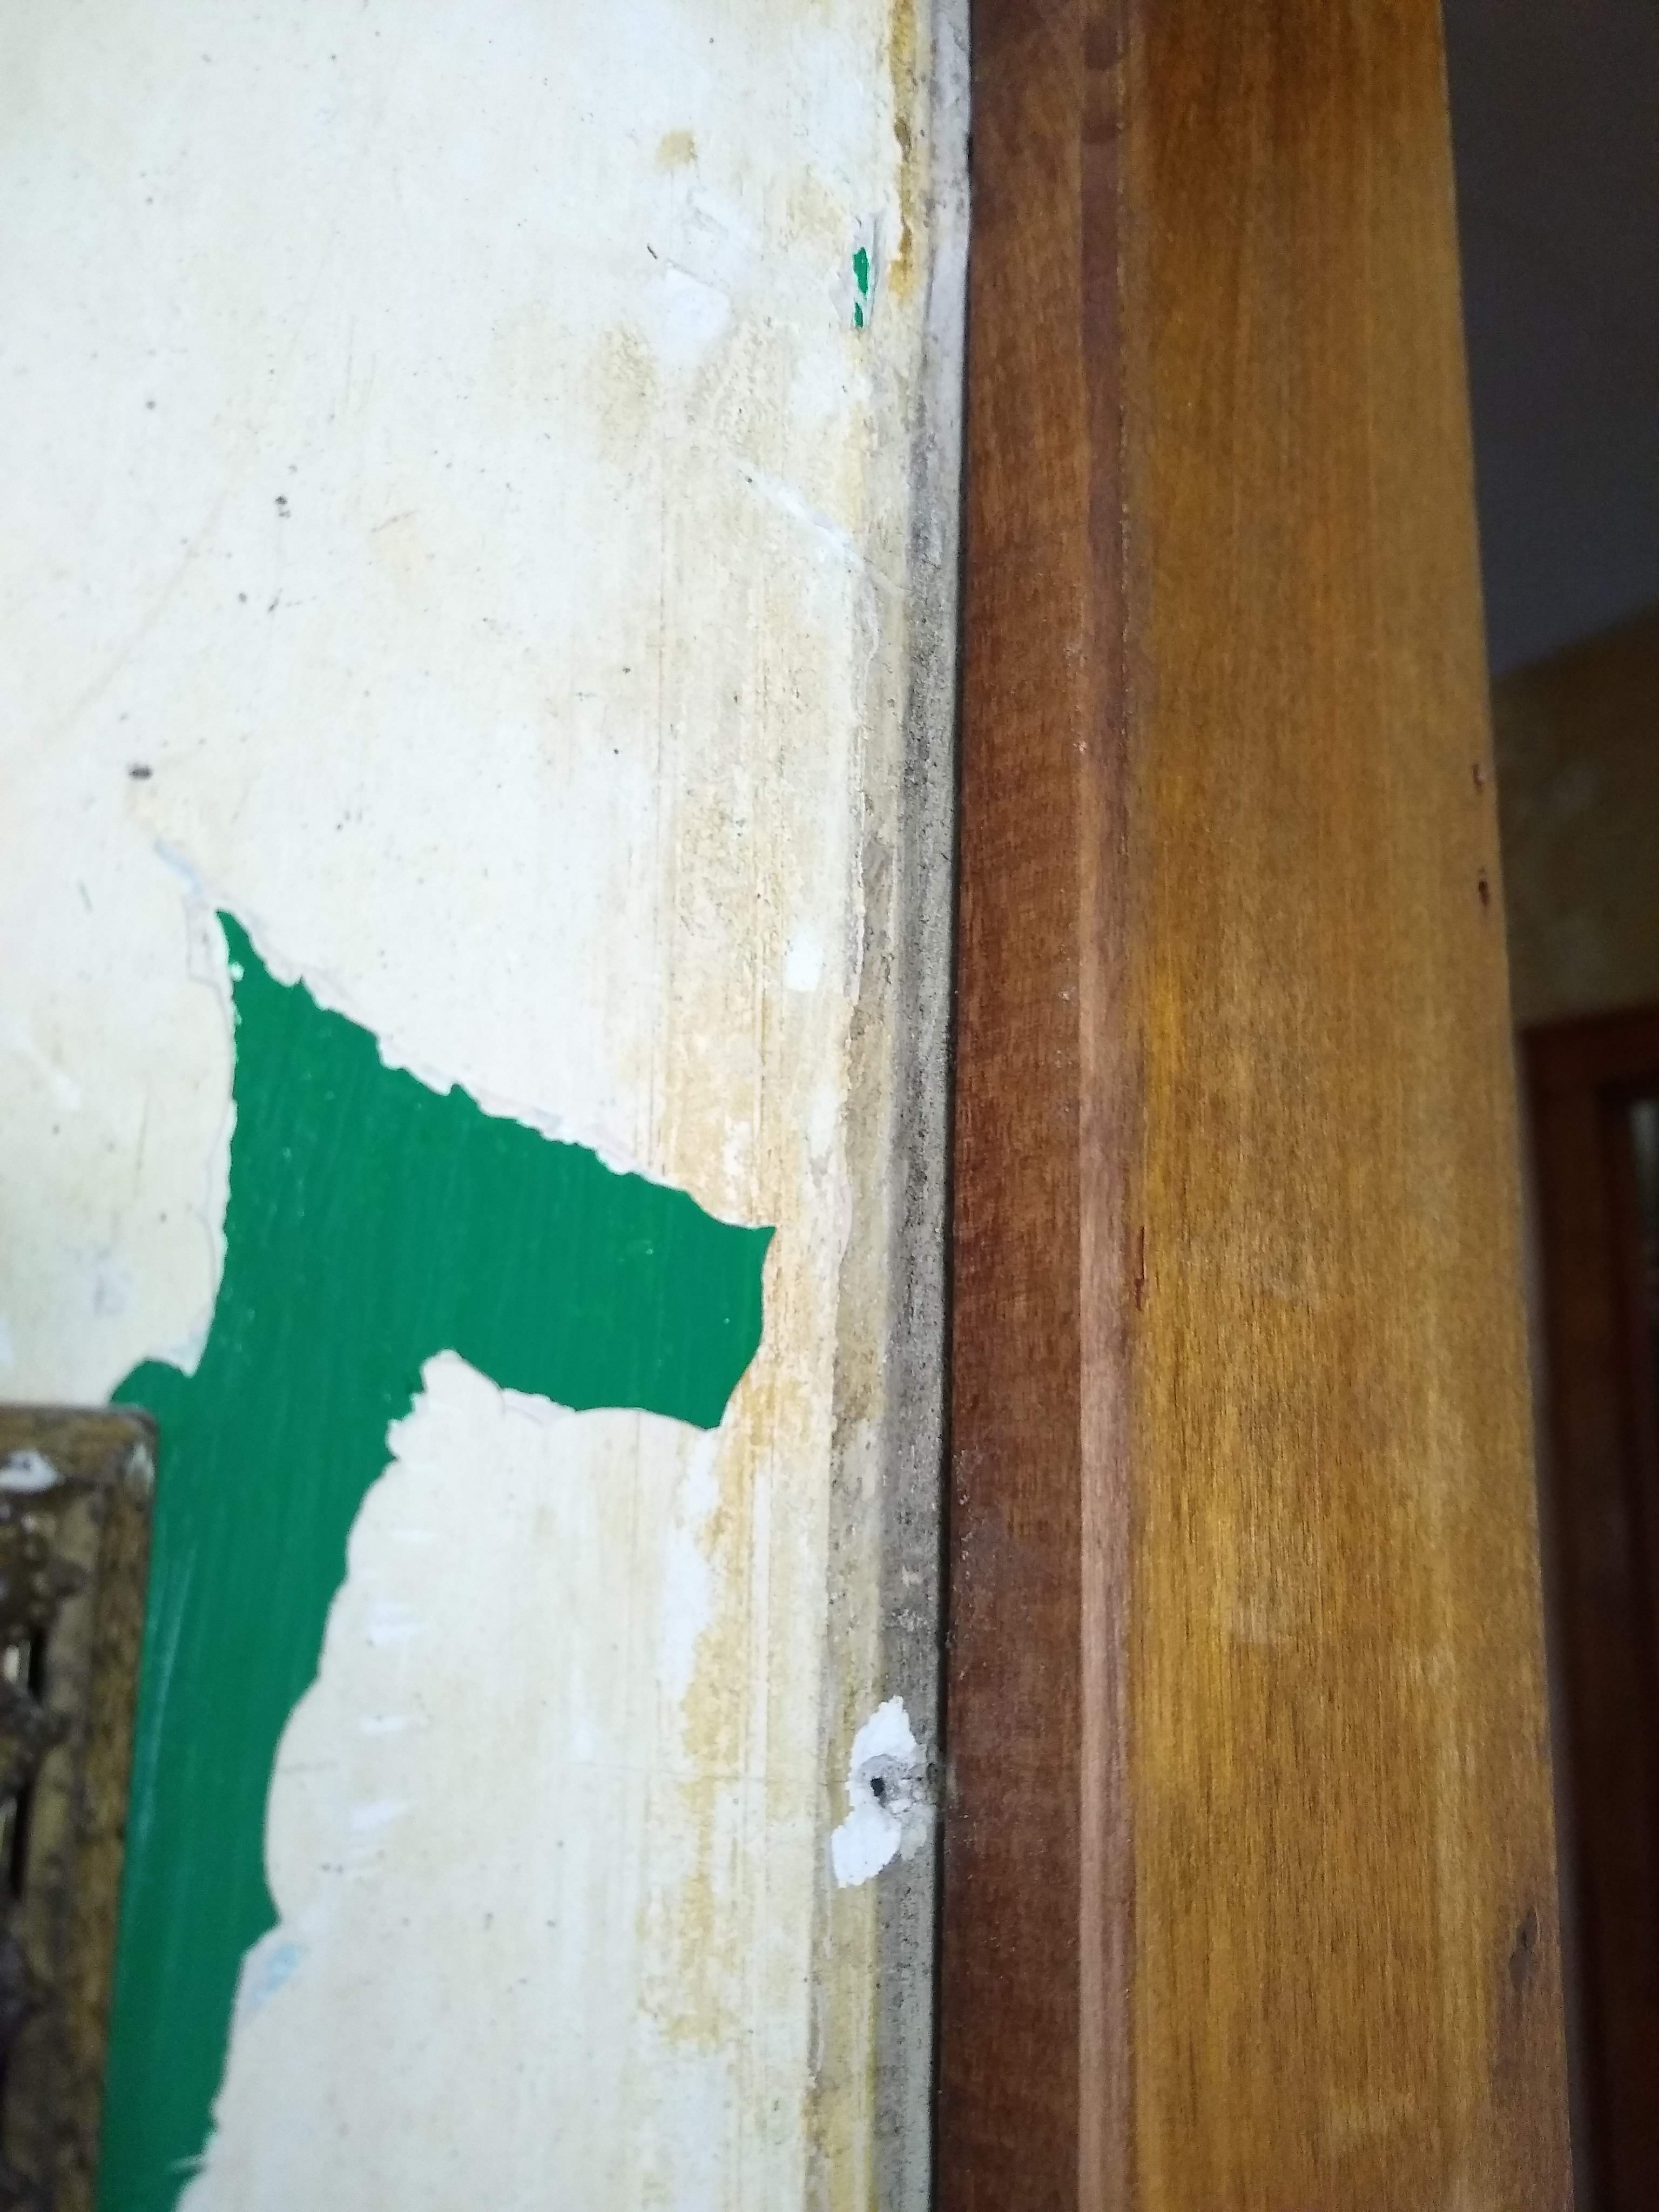
The other part of my research included a hammer and chisel. In various parts of the living room I went excavating under the paint for evidence of 4 1/2″ picture rail. I strategically searched. The paint fell off the walls so easily in the dining room I assumed that would be the case in the living room (and I was willing to take responsibility for the scope creep if it did). I found nothing. The paint did not fall off the walls. There were no ghost marks of any kind. I chiseled away in multiple areas and discovered that the wall coatings in this room were solid and I could barely get through to the original plaster surface without gouging the life out of it. This discovery lifted a huge weight off my shoulders…I no longer needed to consider sourcing this specific profile of salvaged trim (extremely difficult and time-consuming) or getting it re-milled out of turn-of-the-century flame Birch (expensive).
Search real estate listings
Another one of my tricks: When in doubt, search the listings. In your area, in other areas, on the Northside, the Southside, the suburbs. Real estate listings are a great resource when you’re trying to learn about and understand historic interior details. You can still find a lot of intact or time-capsule bungalows if you spend the time looking for them. Saving the links to listings isn’t enough, you need to screenshot or save the images. I keep folders of bungalow interiors (with their addresses) on my computer for future reference.


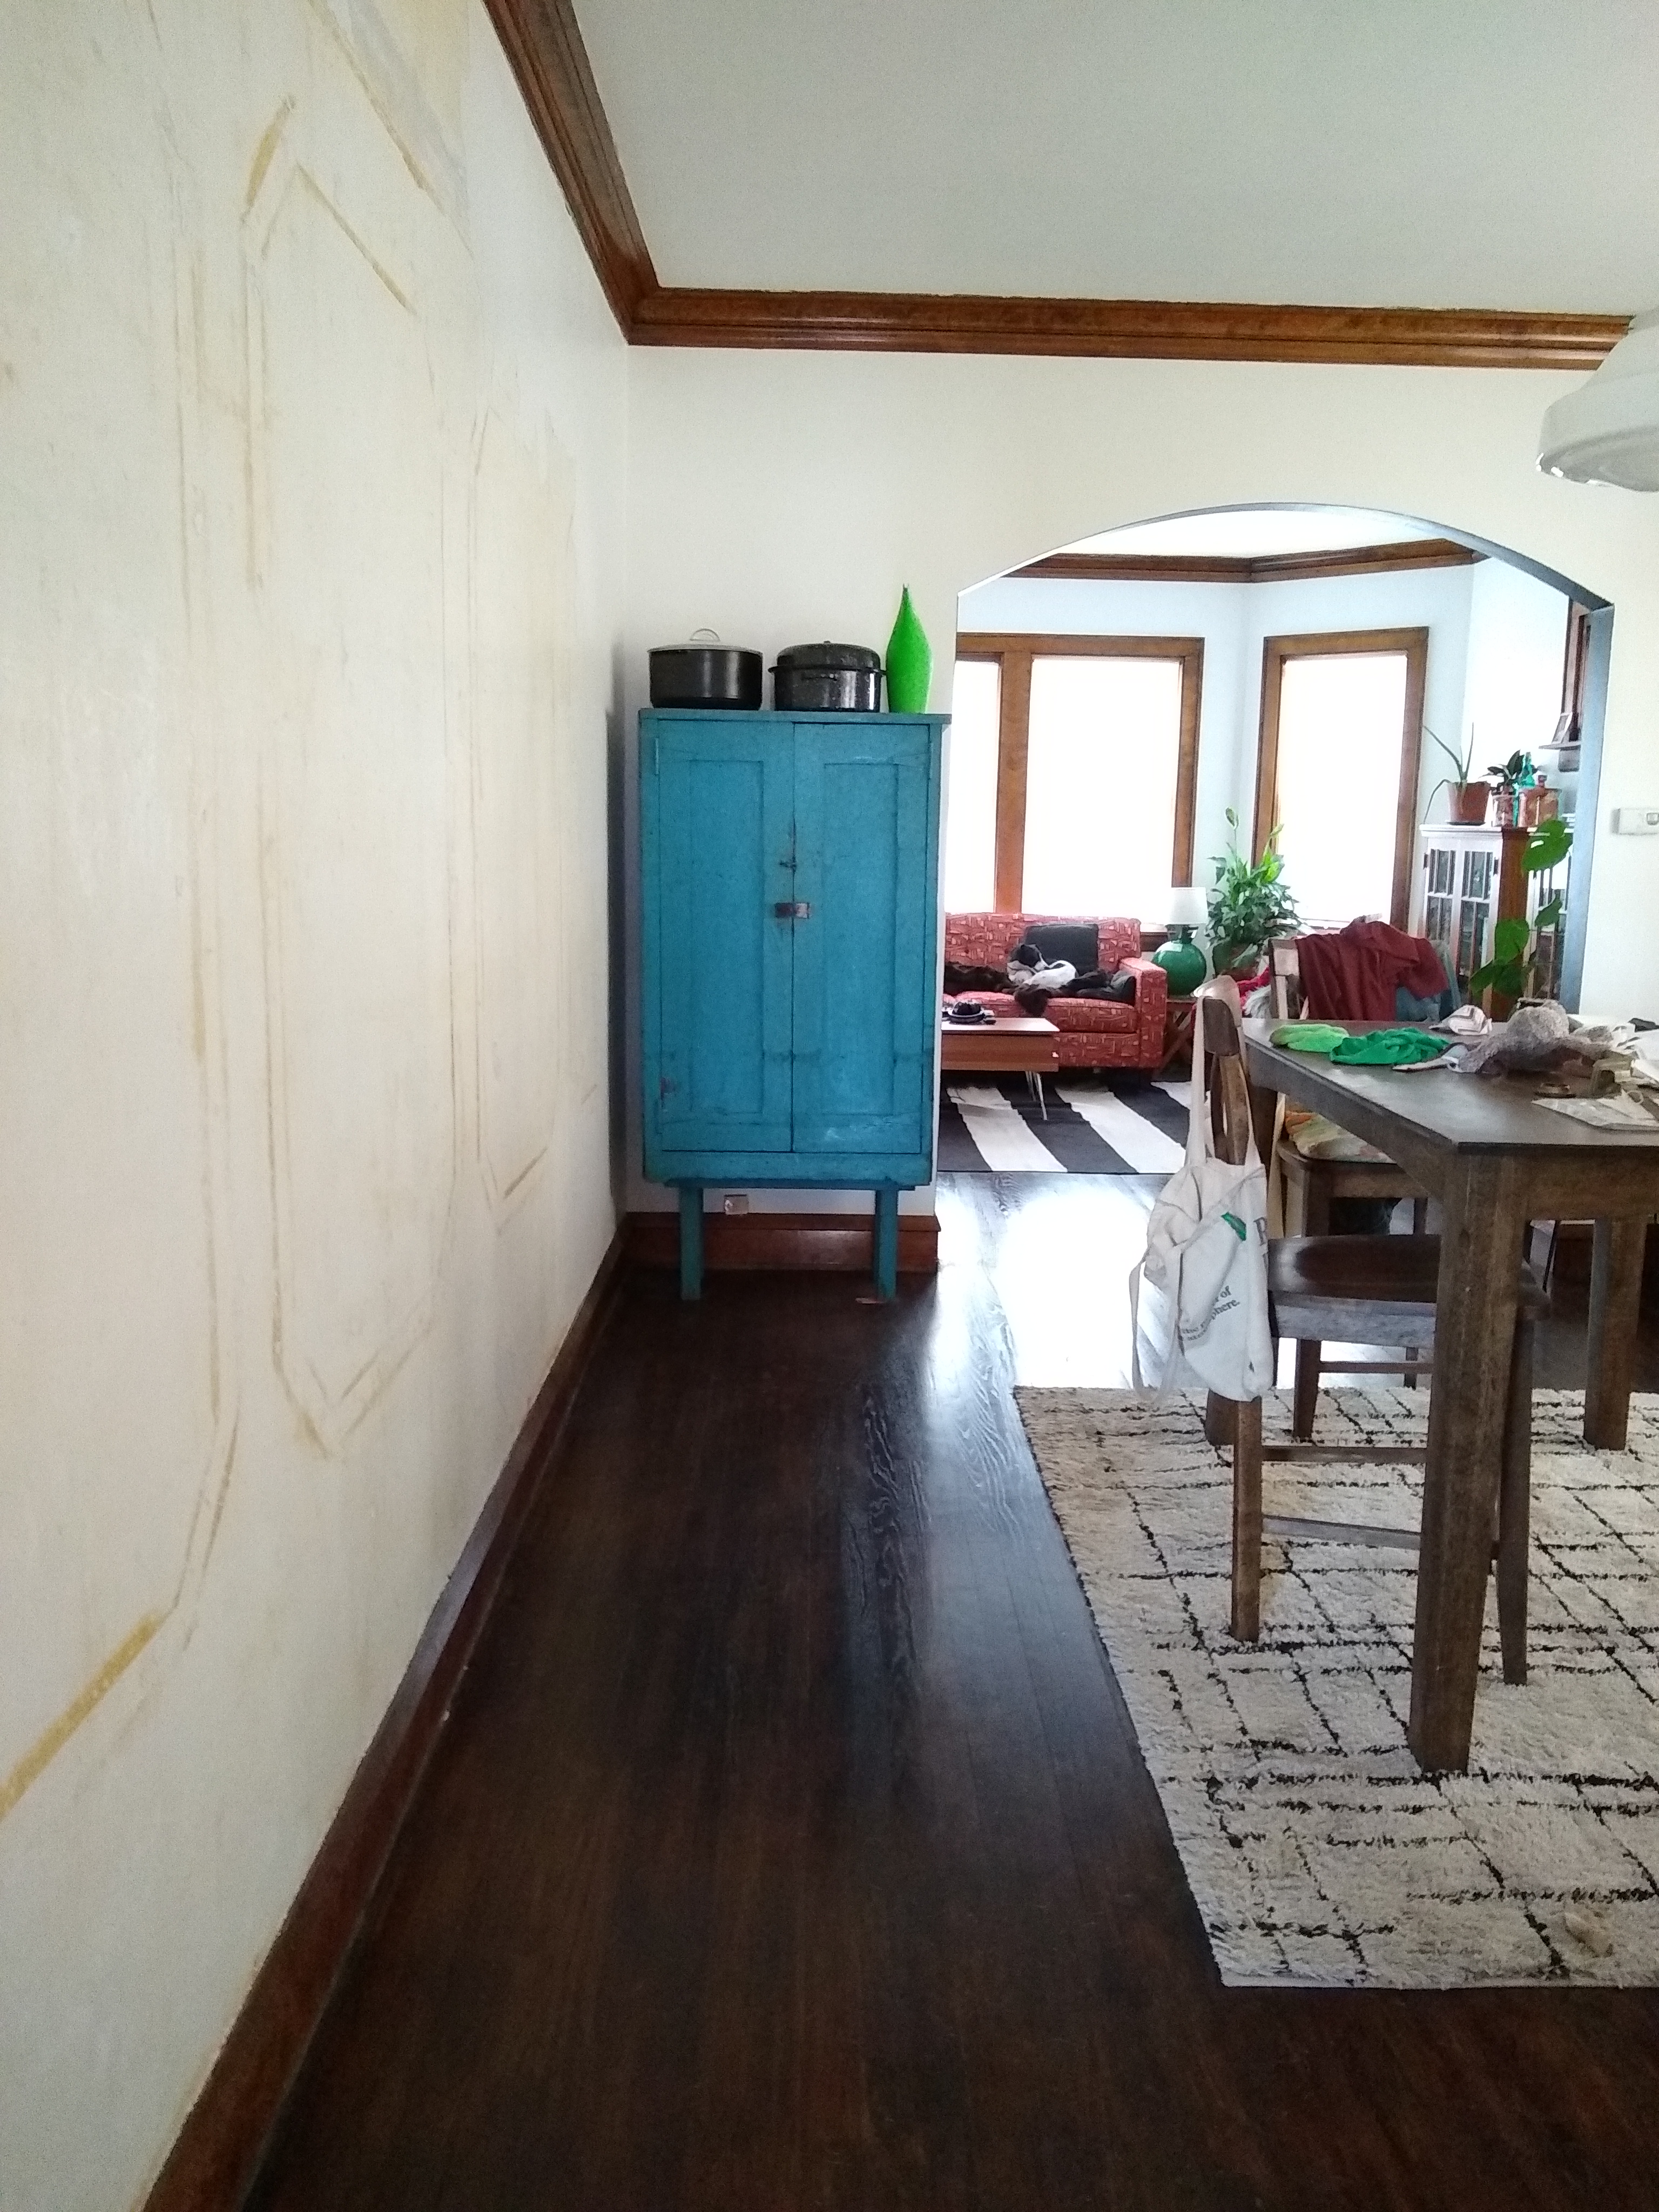
The first big decision
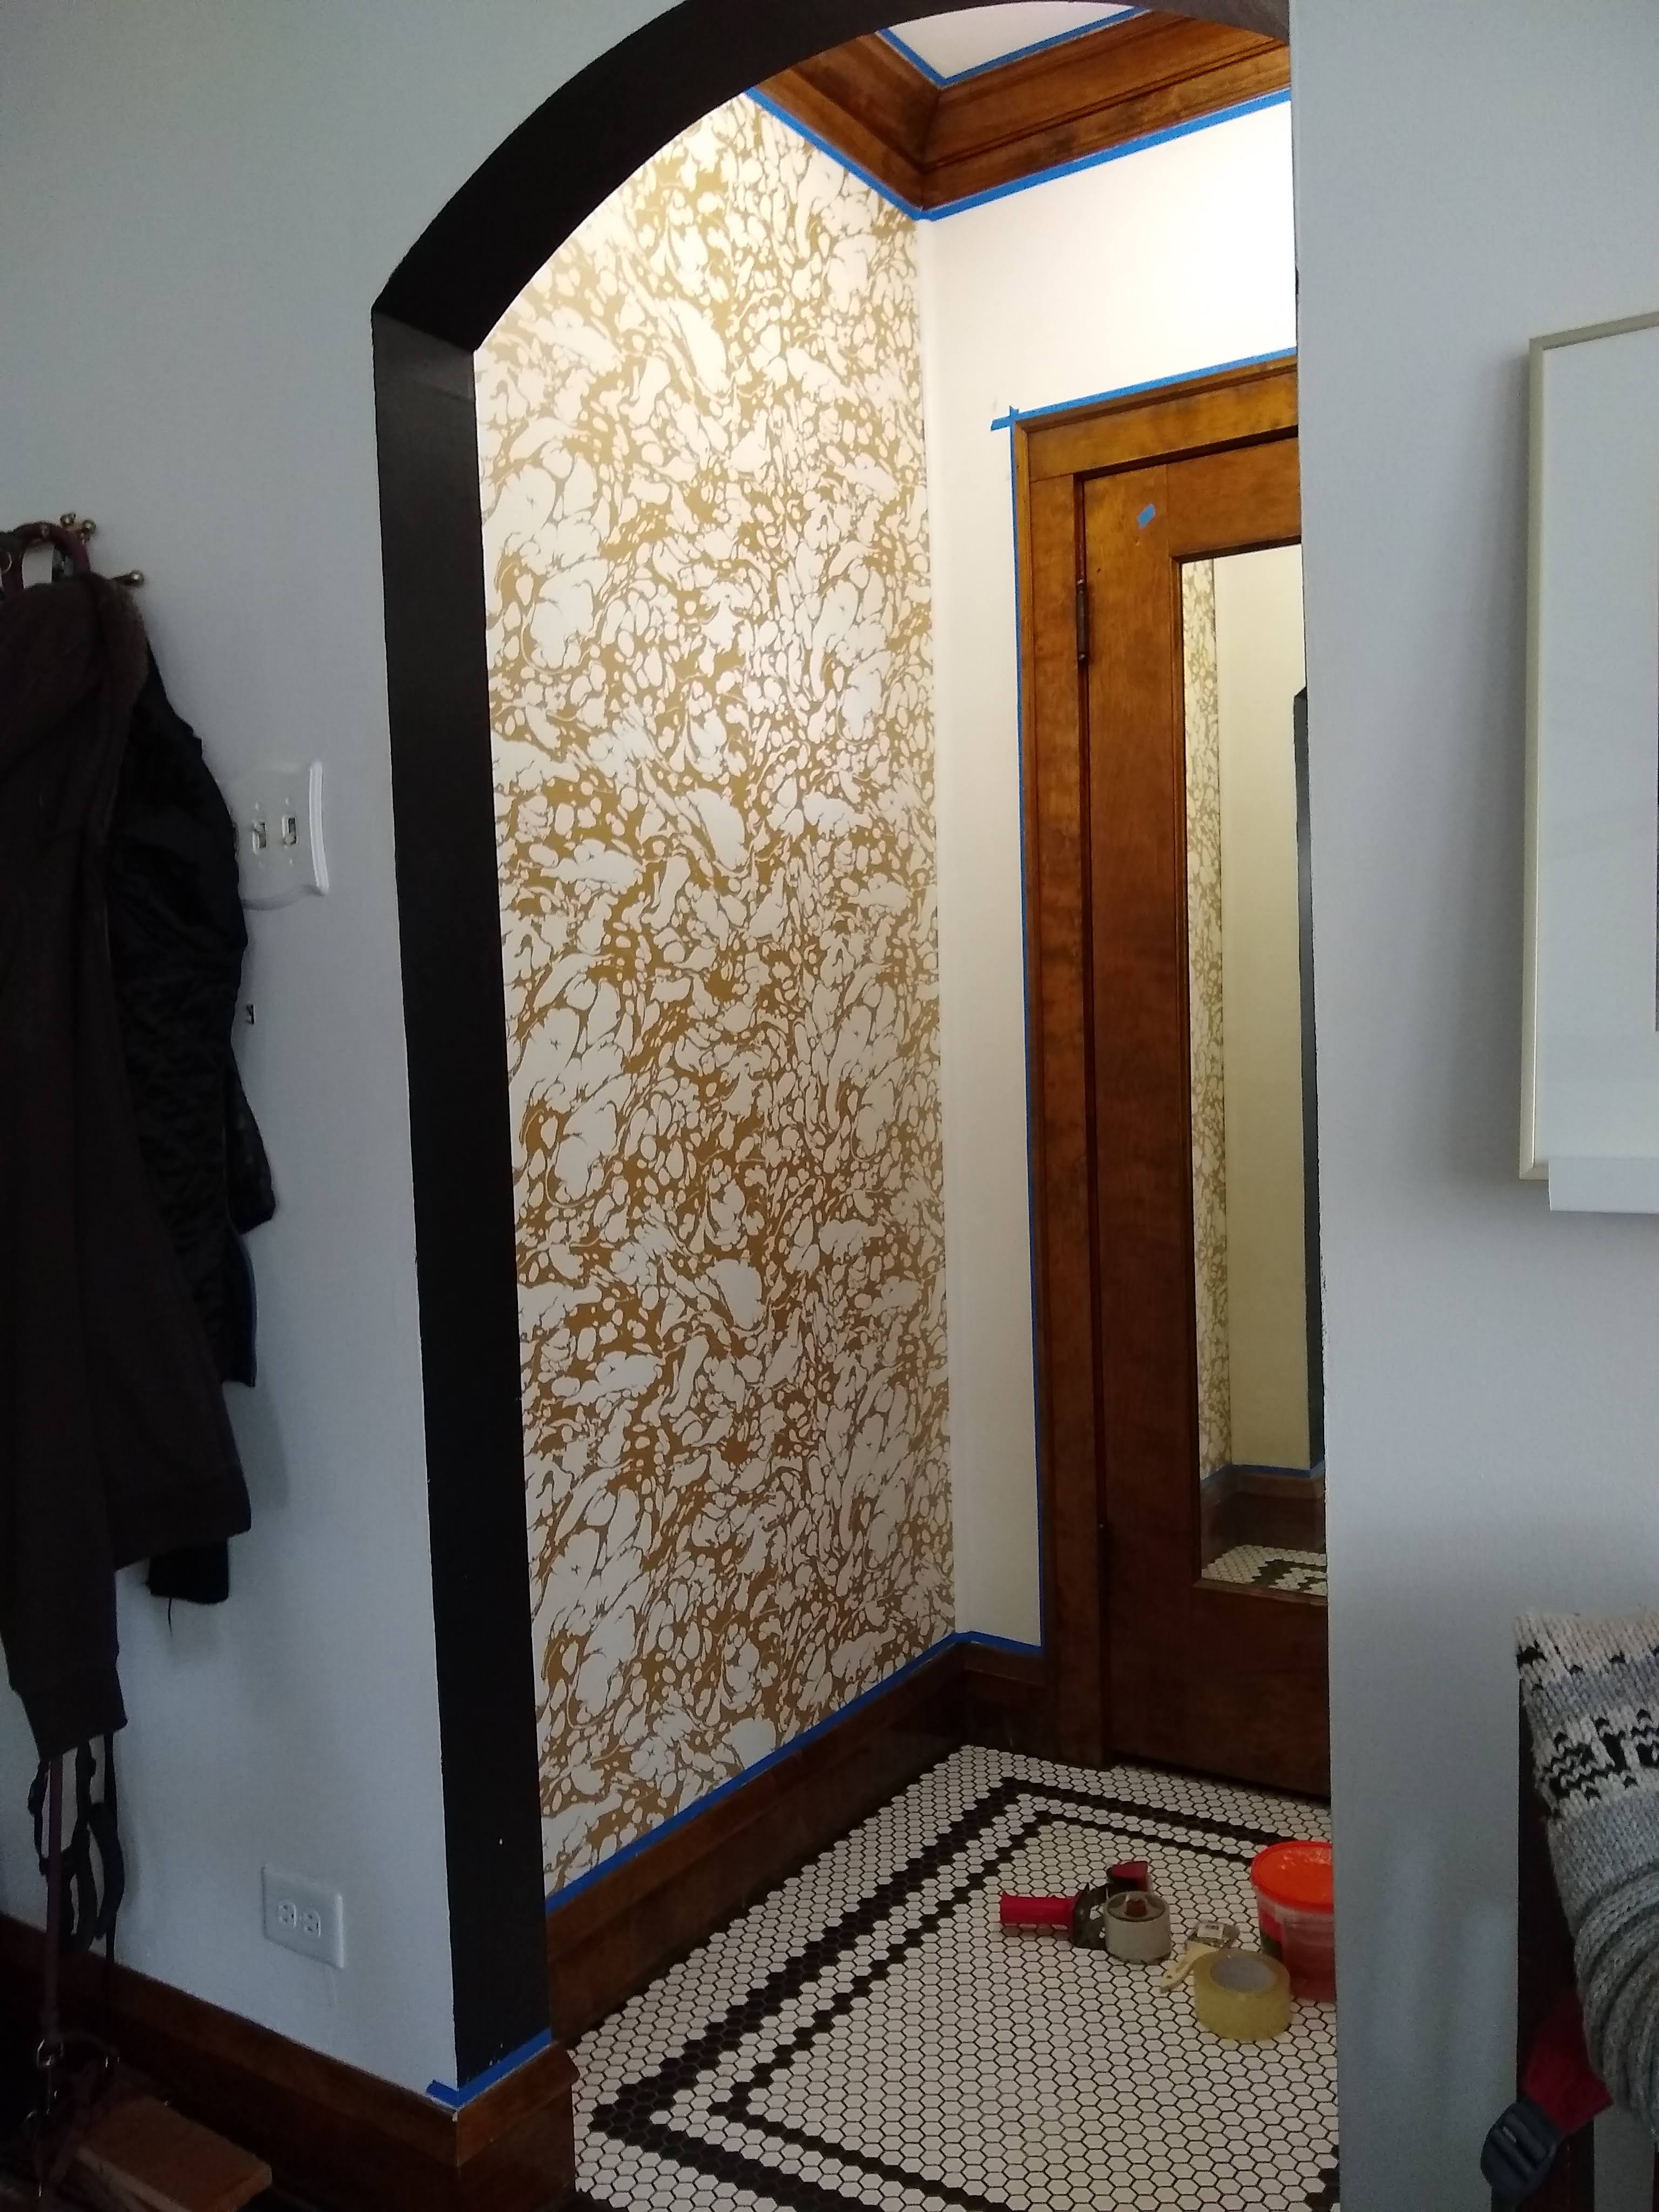
With the wall paint failure, I took the opportunity to chemically strip all of the varnish off of the crown moulding and baseboards. I worked on the dining room and entryway simultaneously and it took about 2 months (off and on) to get it fully stripped. For the entryway, I stripped it and refinished it (and repainted the walls) as sort of a test to see what I wanted to use in the dining room. After a couple rounds of Citristrip and scraping, I cleaned the wood really well with denatured alcohol and let it dry. This also works to deactivate the stripper. For refinishing, I applied a couple coats of Boiled Linseed oil with a rag*, let it dry for about a day, wiped off any excess, and followed with about five coats of premixed Amber shellac (hand-applied). I will have to put together an additional post of just the entryway project from start-to-finish, but until then I’ll include a few photos below.
***Linseed oil is combustible. Always lay any rags soaked in Linseed oil out flat to dry on a noncombustible surface. Do not ball them up or throw them away while still wet as they can spontaneously combust.***
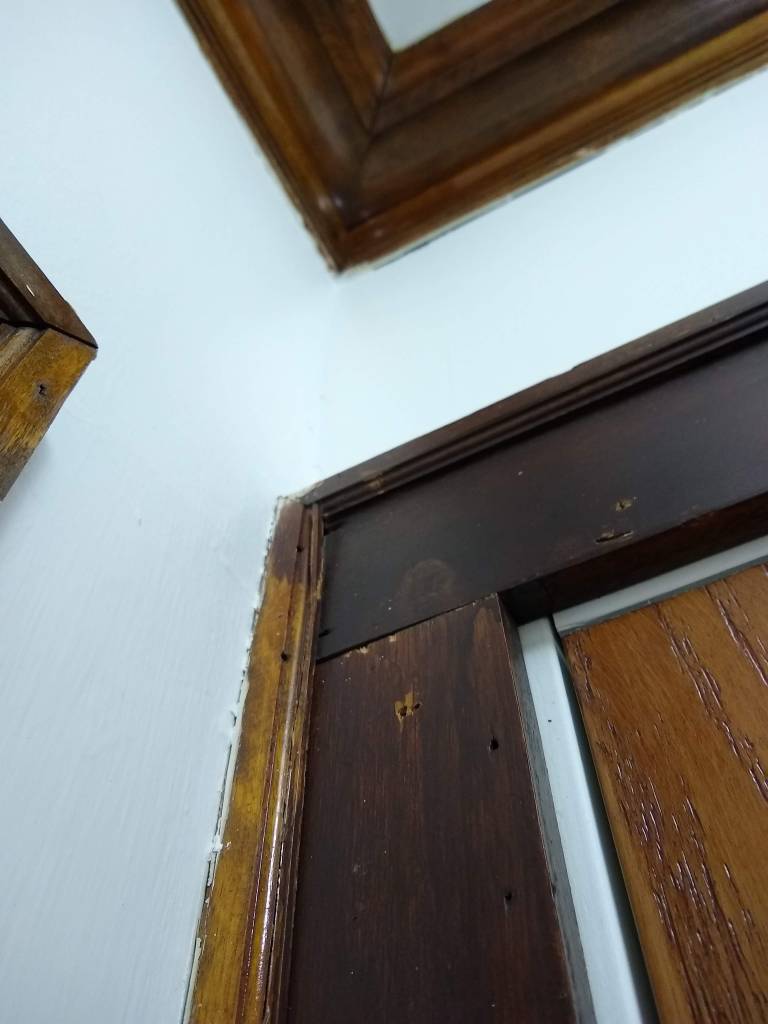


Scraping paint was time-consuming but easy. Pulling trim down from storage in-between the floor joists in the basement…awkward but easy. Uncovering live electrical in the walls…dangerous! But rewiring them was actually pretty easy. Stripping trim…time consuming but I knew I would be tackling it at some point…especially after I had stripped and refinished the picture rail in the office in 2018. Those were all easy decisions to make.

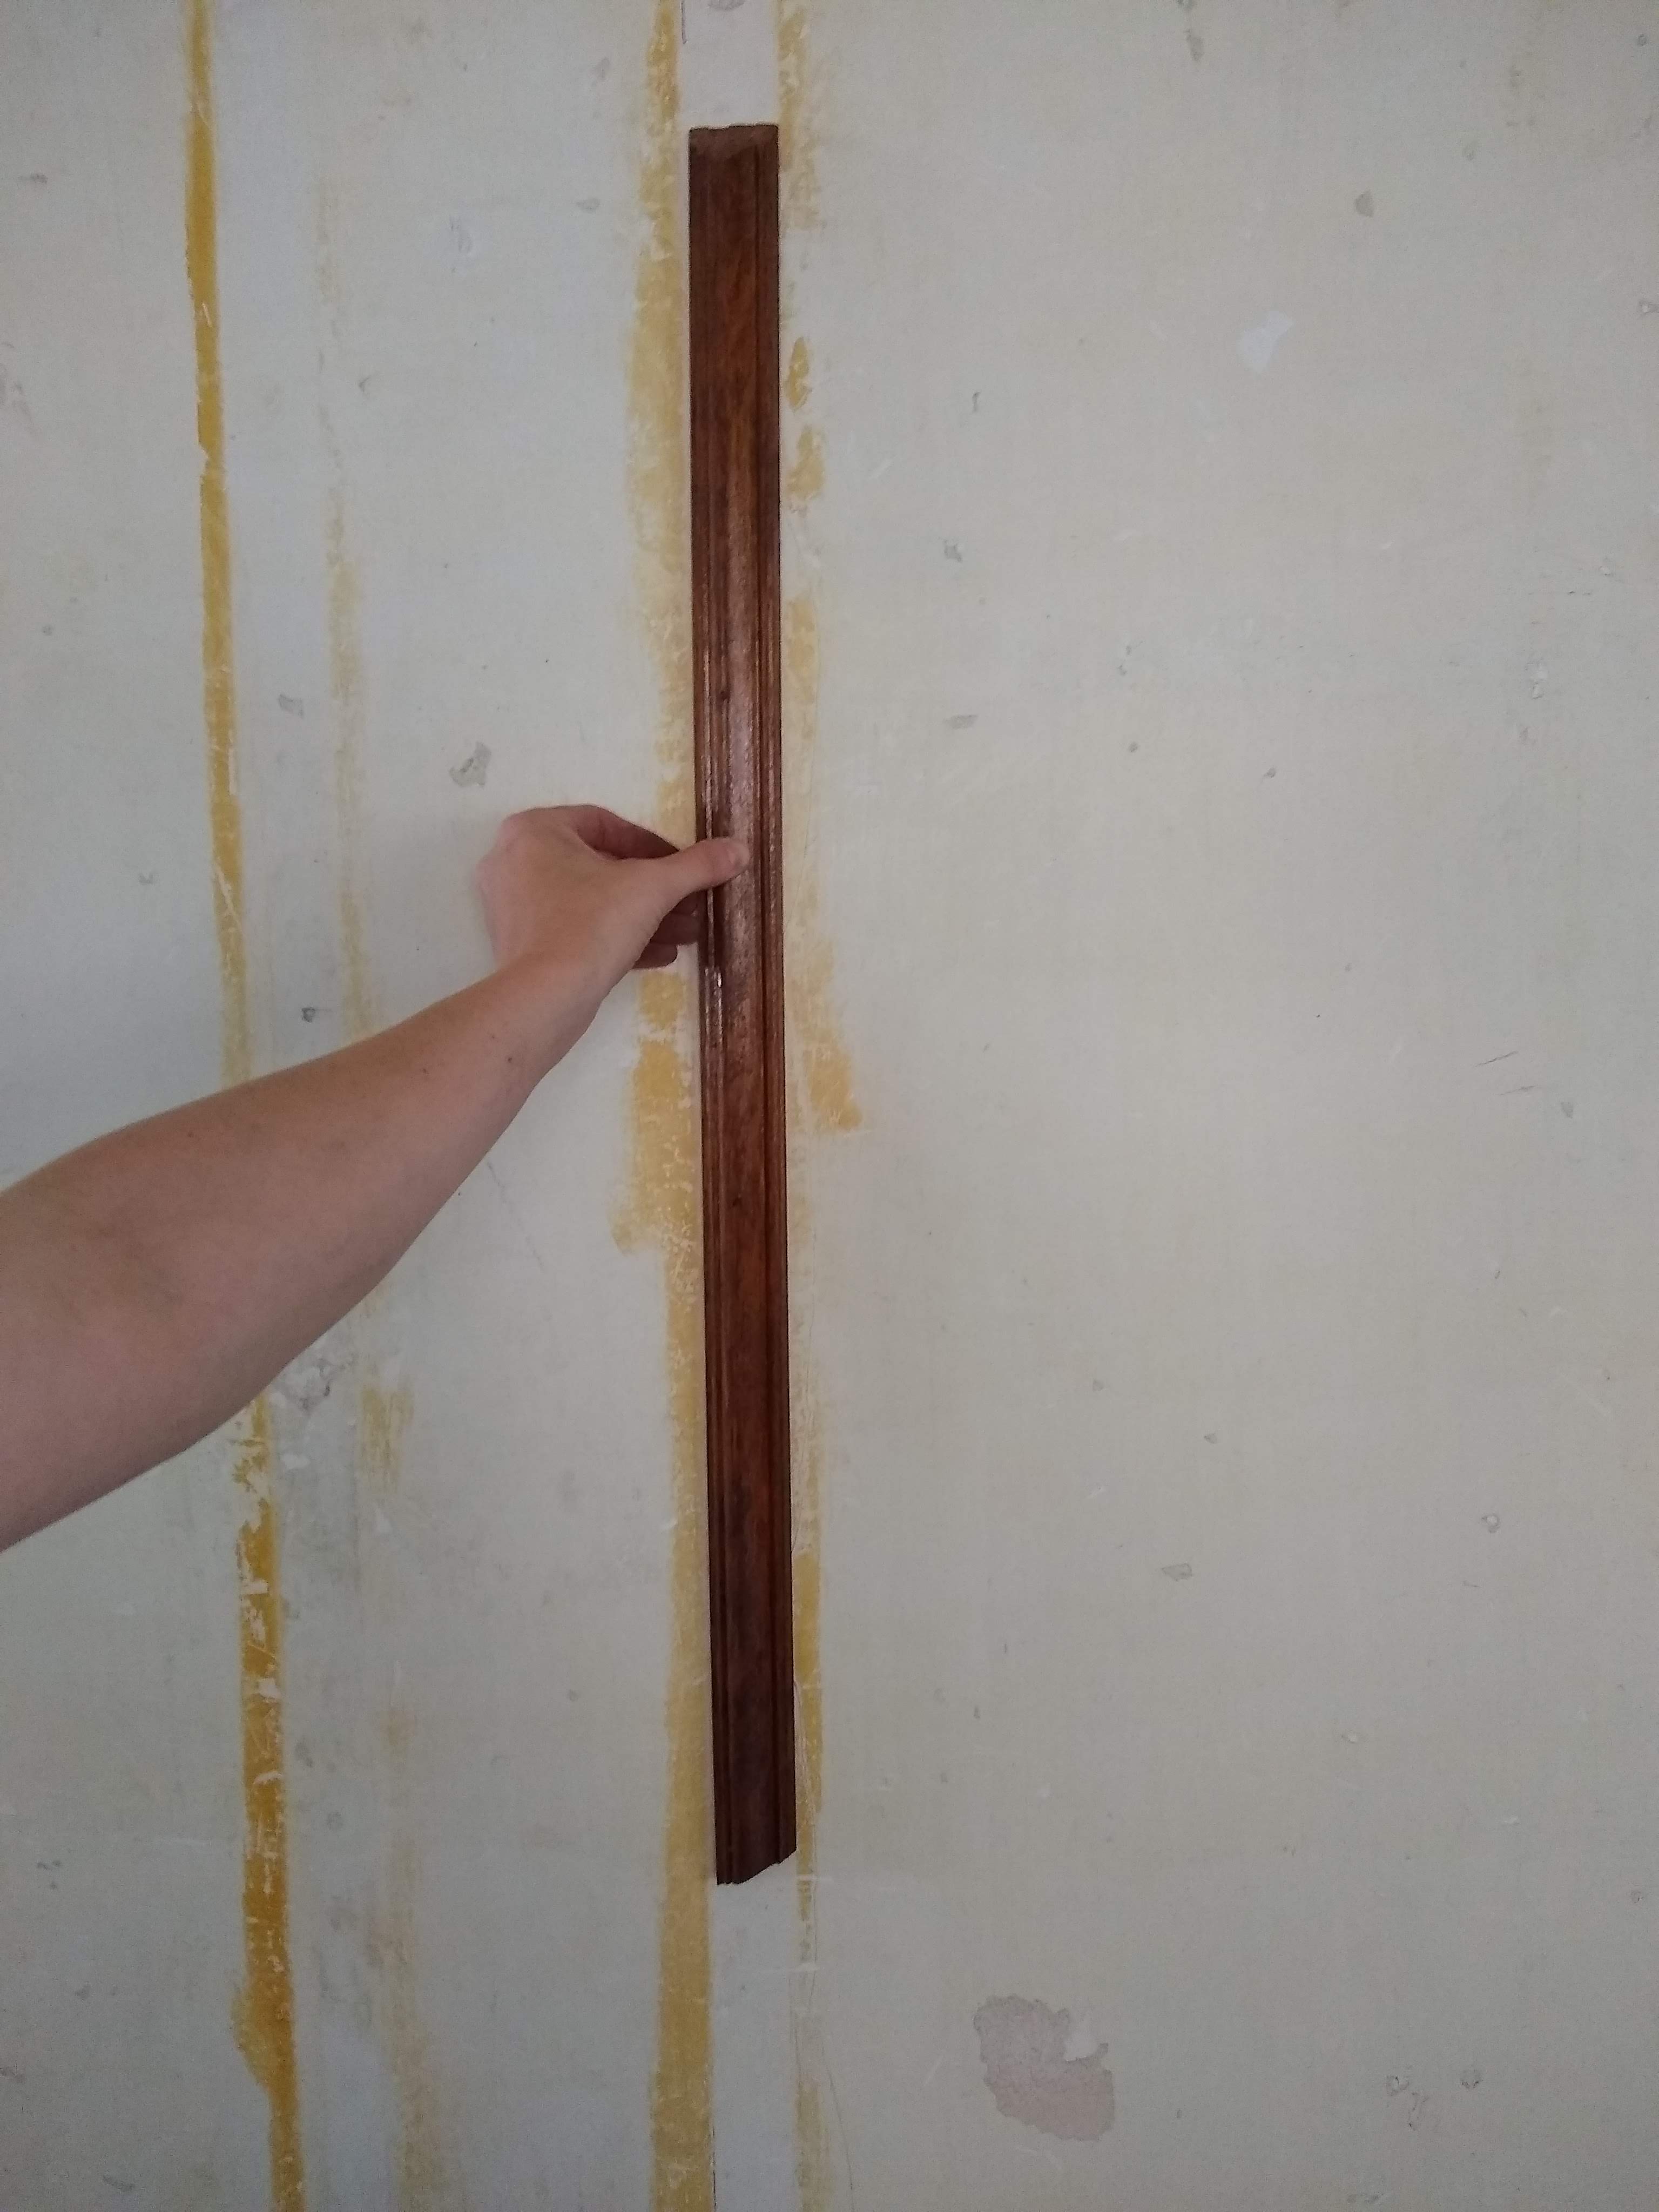
The first big decision that wasn’t so easy: removing the archway between the living and dining room. Removing it meant that I was fully committing to a restoration project. It wasn’t something I could just easily put back if things didn’t work out. And before I even thought about swinging a hammer at it… I planned. I measured. I had to account for where every single piece of trim I found (or removed) was going to go. I needed to make sure I had enough to trim out the opening between the living and dining room on both sides where the archway was being removed.
I came up with a plan: After measuring I realized that I had just enough full lengths of trim to work with for each casing, the only thing I would need to source to make my plan work was about half a dozen plinth blocks. And if I was really careful, I could salvage enough back band to match the trim profiles in the rest of the living room.


With every piece planned out, I got to work on demoing the archway, this time with the mindset of “Expect the unexpected.” Thankfully, there were no surprises…just a lot of dust. And a new challenge to tackle: Plaster repair.


Removing the archway almost immediately solidified in my mind that restoration was the appropriate course of action for this project. It’s like the house breathed a sign of relief. The change was an instant improvement to the space: rooms felt bigger and everything felt brighter. Next up, I tackled refinishing the trim, removing trim to repurpose elsewhere, plaster repair, and I uncovered some answers to a mystery that had had me stumped from the beginning.
Look for all of that and more in Part III.

Leave a reply to Chicago Bungalow Dining Room Restoration – My Chicago Bungalow Cancel reply