This post was originally published in June 2018. It has been updated and edited for length and clarity.

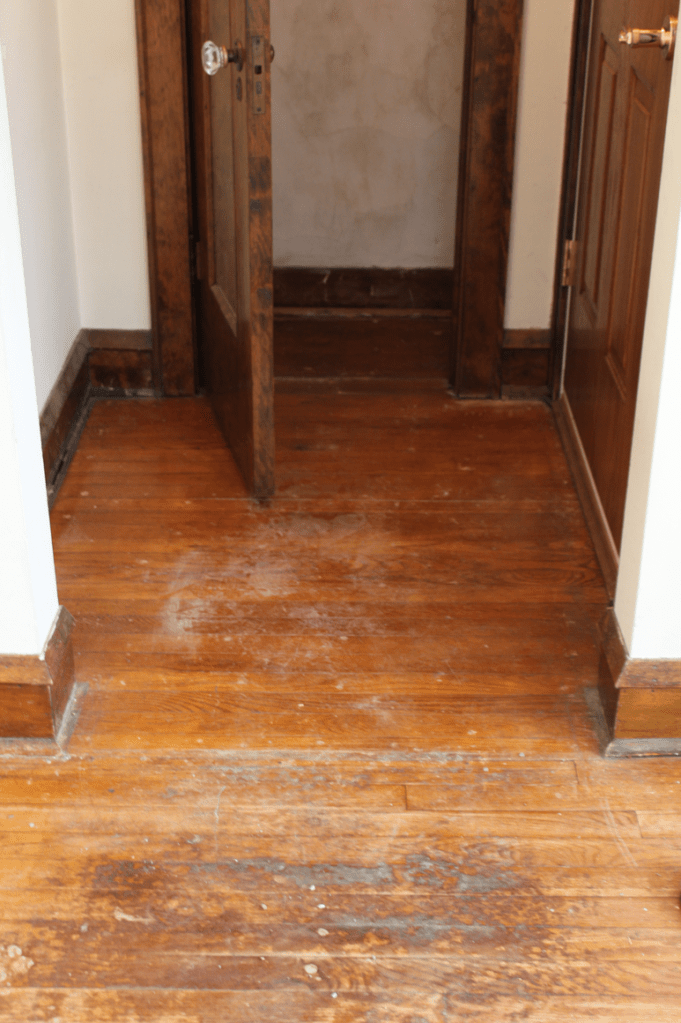
A year ago this weekend we broke ground on our entryway renovation. The idea was pretty simple: tile the entryway (a very practical decision for Chicago winters) and add some eye-catching wallpaper to create a small space with big impact. An entryway is a great place to set the mood for the rest of your space, and I wanted ours to fit within the historical context of our bungalow…but with an eclectic twist. When we purchased the bungalow, the entryway had pink ceramic 6×6 tiles, some of which were coming loose. One of my first projects in the house was refinishing the oak floors, which included demo-ing the pink tiles.
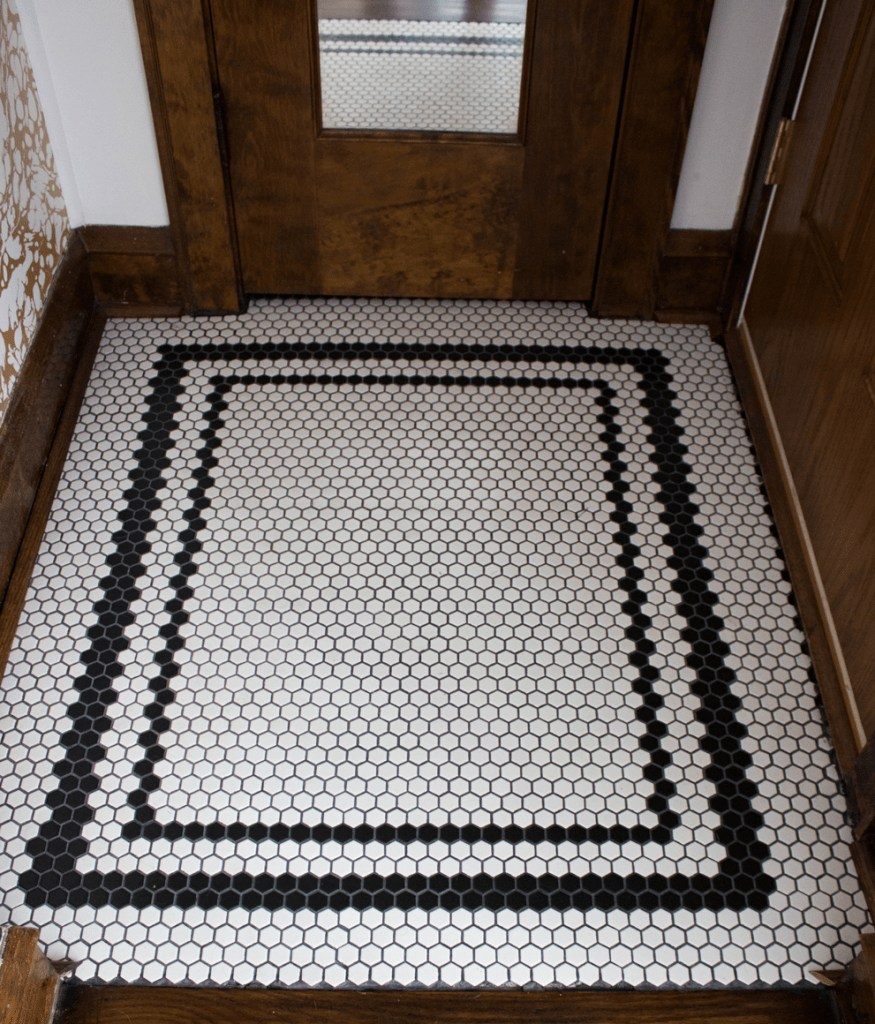
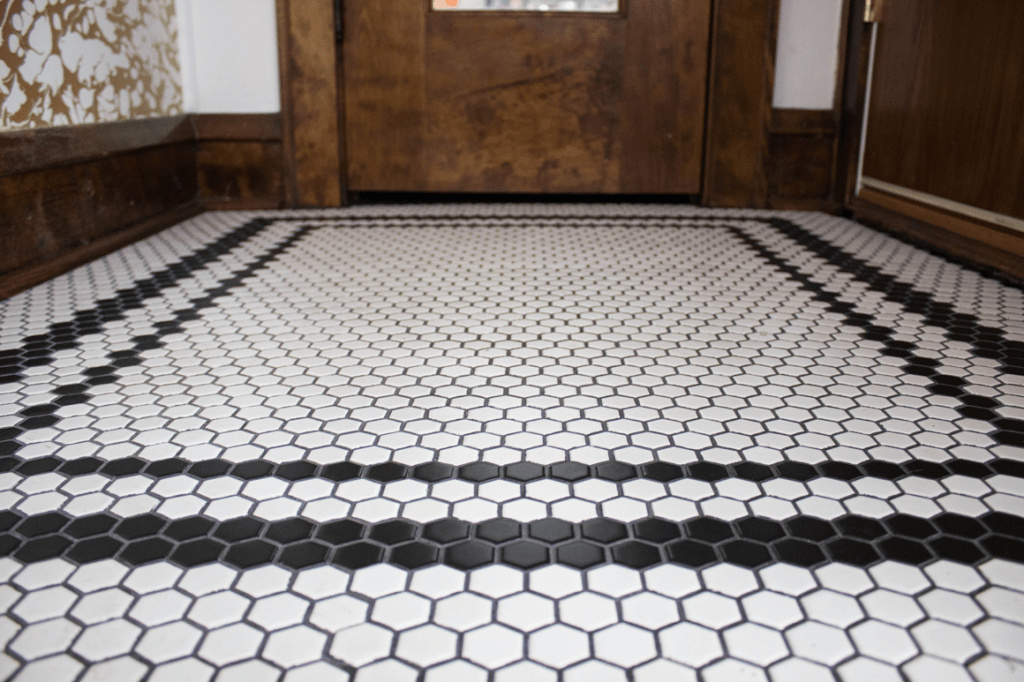
For the tile design, I wanted tile that was period appropriate. Hex tile was used heavily in the construction of most Chicago bungalows, primarily for the bathroom floor, so I took my cue from there. I knew I didn’t want to do any flower patterns in the tile, so instead I designed a simple square borders of black hex tiles to contrast nicely with the white field tile.
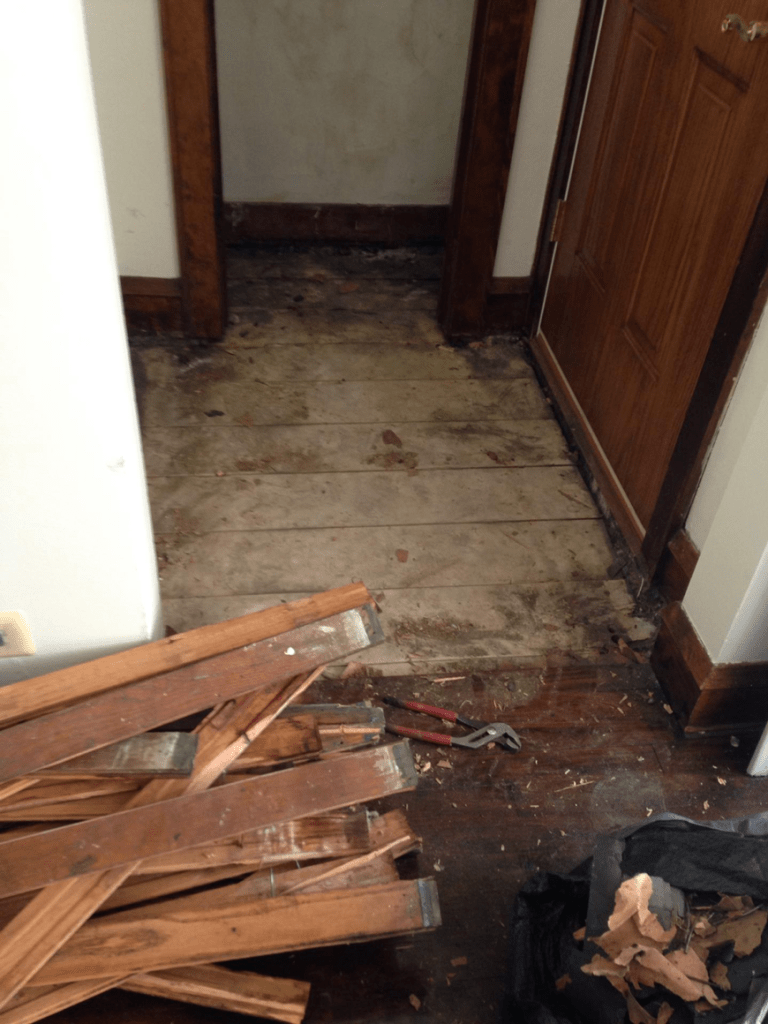
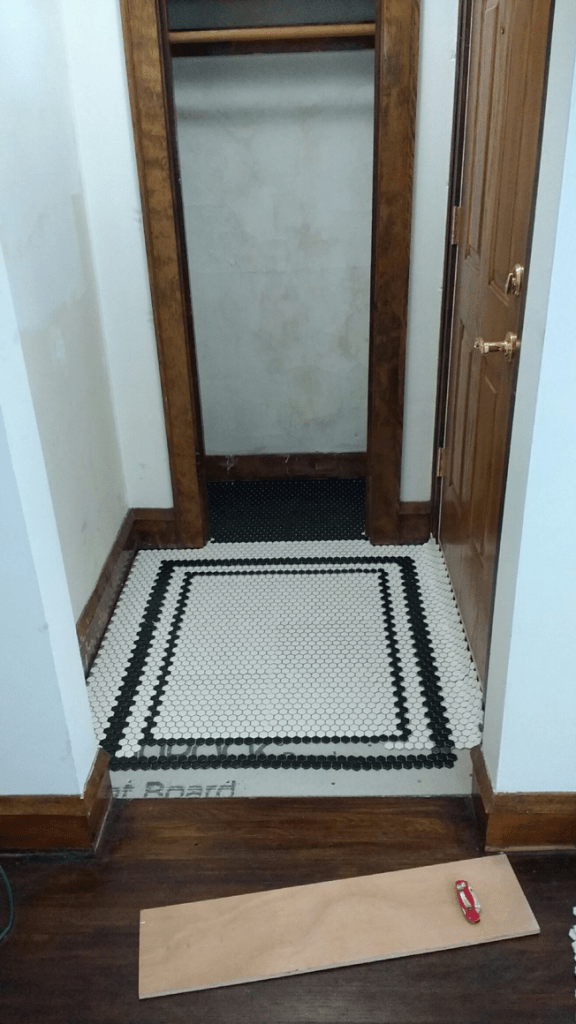
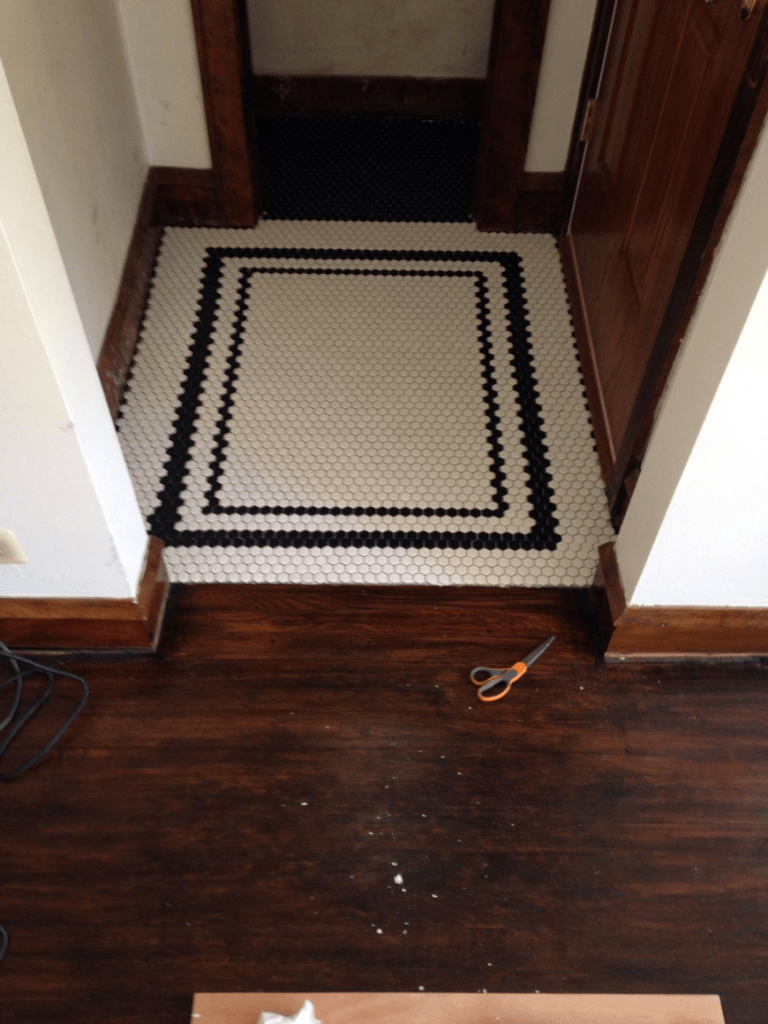

With demo done, I laid two layers of 1/2″ cement board (glued and screwed) over the original sub floor and then hand-cut the hex tile pattern with a utility knife. This was my first time tiling anything, so I nervous about screwing up, wasting materials, and ending up with a huge mess at the end. Because of this, I took my time and made sure to dry-fit the tiles in the space before gluing down so that the pattern, placement, and size of the design was perfect. Cutting and dry-fitting took about two days but it was worth it! After gluing everything down, I made sure to give the glue its full cure time (if I remember correctly, it was 72 hours). The Friday after Memorial Day weekend, I grouted the tile and then sealed it.
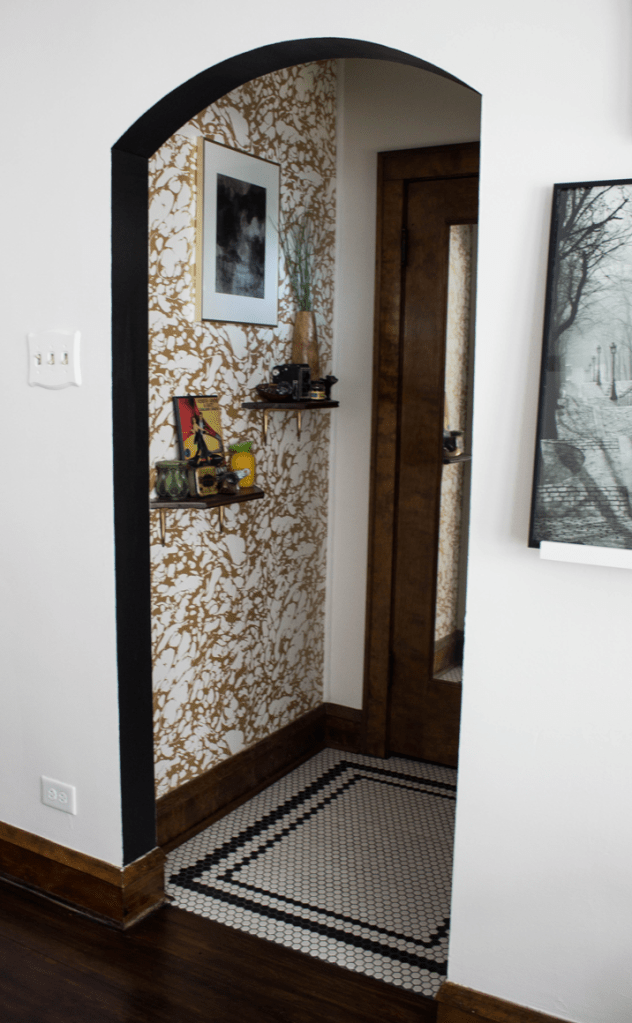
The most difficult part of the project was hanging the wallpaper, as I couldn’t figure out the return. Once I got it hung, I decided to style the space with some shelves I built with the original floorboards we salvaged during demo. At the eleventh hour, I decided to nominate this project for the Small Projects category for the CBA Driehaus Awards… and was shocked when I won!
Here is a quick cost breakdown (prices are approximate, and from 2017)
- Tile, mastic, and grout: $300
- Cement board: $13/3×5 piece ($26 total)
- Tile Sealer: $16
- Quarter round trim: $13
- Tools and fasteners: $20
I’m going to omit the cost of the wallpaper, as this can vary depending on quality and style. That being said, I originally ordered a double roll from Anthropolgie Home for $100 for this project and had plenty left over.
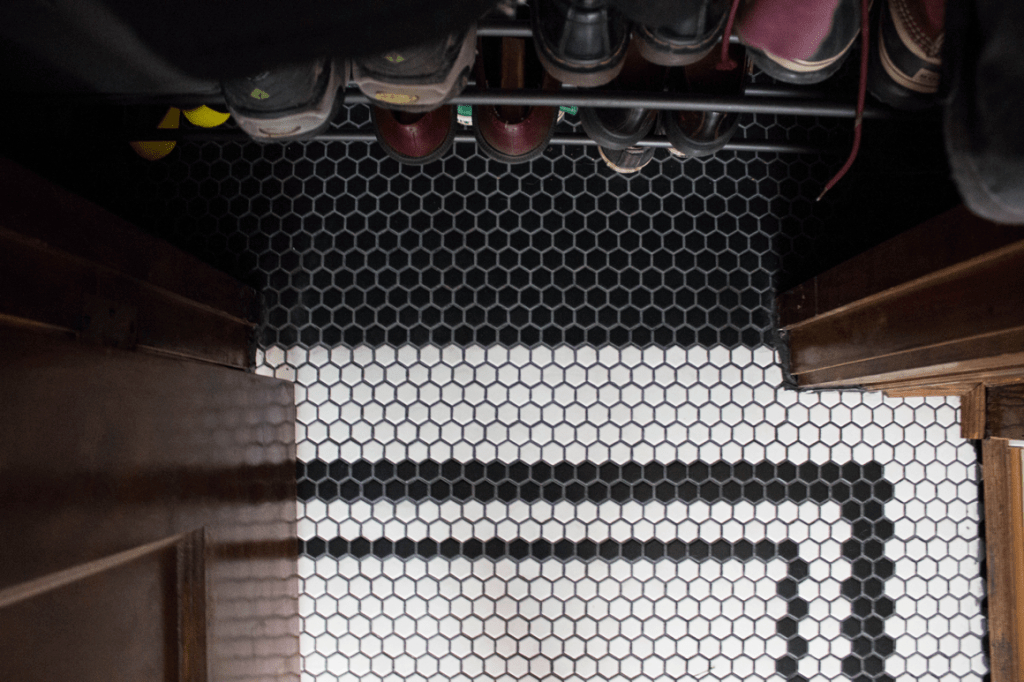
Eventually we added a small black metal threshold to bridge the gap between the tile to the wood, that allows for expansion/contraction of the wood floor. In 2019, I went back and refinished the baseboards and crown molding in this space and removed the wallpaper, repaired the plaster, and re-painted the walls and ceiling.

Leave a comment